
 Español
 Italiano
 Deutsch
 Français
 Português
 日本語
日本語 简体中文
简体中文 한국어
한국어 Русский
Mar
How to place the wire on the oboe reed.
Placing wire on an oboe reed is a process used to control the sound, the opening of the reed, and improve its response. Here are the steps to know how to do it, and we also provide a video for you to see everything step by step.
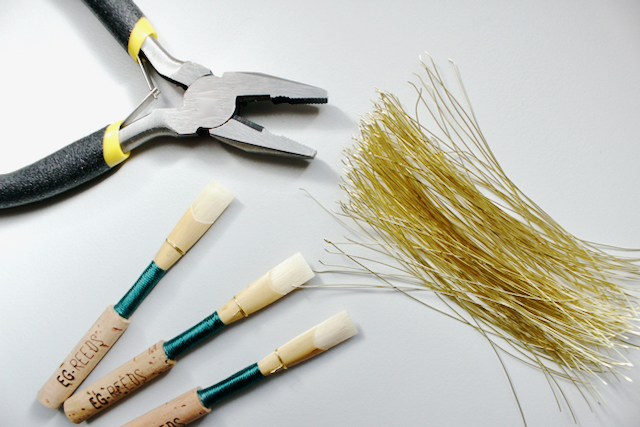
1. Material preparation:
You will need specific wire. For oboe reeds, it’s 0.30 mm wire, which is fine brass wire.
You will also need a small pair of pliers to cut the wire.
2. Measurement and cutting of the wire:
Measure a piece of wire that is long enough to wrap around the reed twice, plus an additional 2 or 3 centimeters to tie the knot afterward. A common size for wire length is about 7 to 8 cm. Use the pliers to cut it to size.
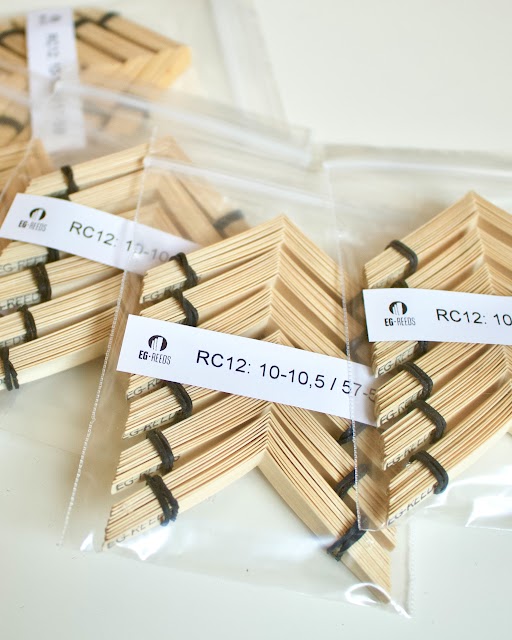
If you want to skip this step, you can use our pre-cut wire, with 100 units of wire already cut to the perfect size and ready to use.
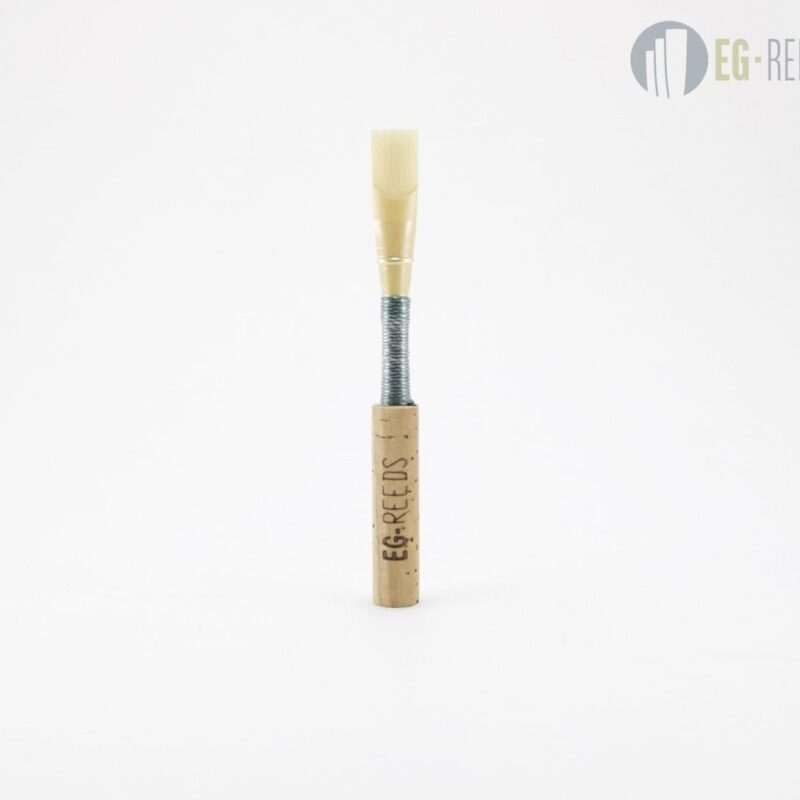
3. Placing the wire on the reed:
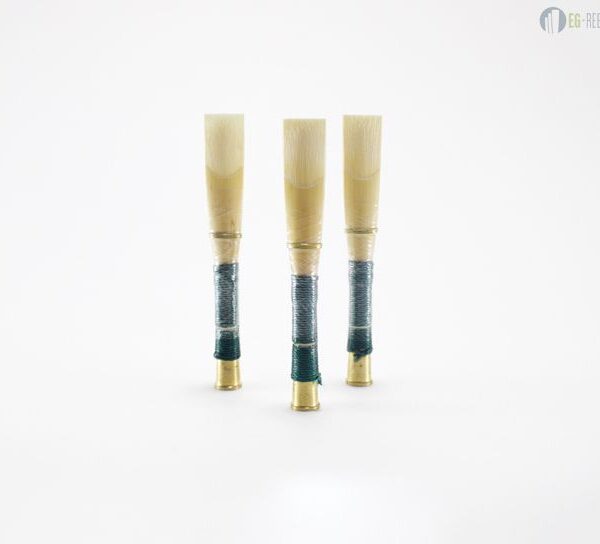
The wire is usually placed about 3-5 mm from the end of the reed’s staple. This distance may vary according to your preferences or the type of scraping your reed has.
To place the wire, hold one end of the wire against the reed with your index finger. With the other hand, begin to wrap the wire around the reed so that it wraps around twice. Always maintain tension on the wire to ensure it is snug.
Ensure the wire is evenly and straightly aligned around the reed. This is important for maintaining symmetry and balance in the reed’s vibration.
Once the wire is wrapped around the reed, hold both ends of the wire and twist them together to secure the wire in place. This will keep the wire from unraveling. You don’t need to tighten too much at this point; the goal is for the wire to be firm but not to squeeze the reed excessively.
Use the pliers to trim the excess wire, leaving enough length to bend it to prevent the ends from coming loose or causing a cut to the lip.
4. Final adjustments:
Ensure the wire is tight enough to keep the reed closed or open, depending on your needs, but not so tight as to strangle or deform it.
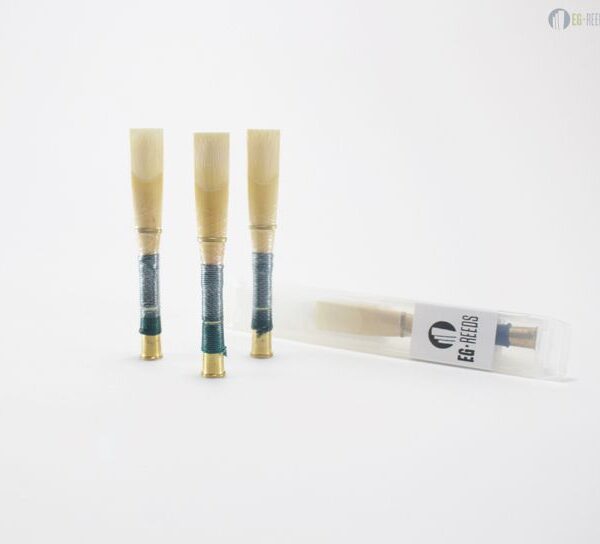
Finally, test the reed on your oboe to make sure it responds as you want. It may be necessary to make additional adjustments after testing it.
If you notice any changes in the reed’s response or sound quality, you can make small adjustments to the wire’s position or tension.
In conclusion, wire placement is a process that may vary slightly according to personal preferences and specific scraping techniques of each oboist. With practice, you will find the method and position that work best for you and the sound you want to achieve from your oboe reeds.
Leave your comments below if you’d like to share your personal preferences or tricks. We’d love to hear from you!
Follow us on our social media:
See you at www.eg-reeds.com!
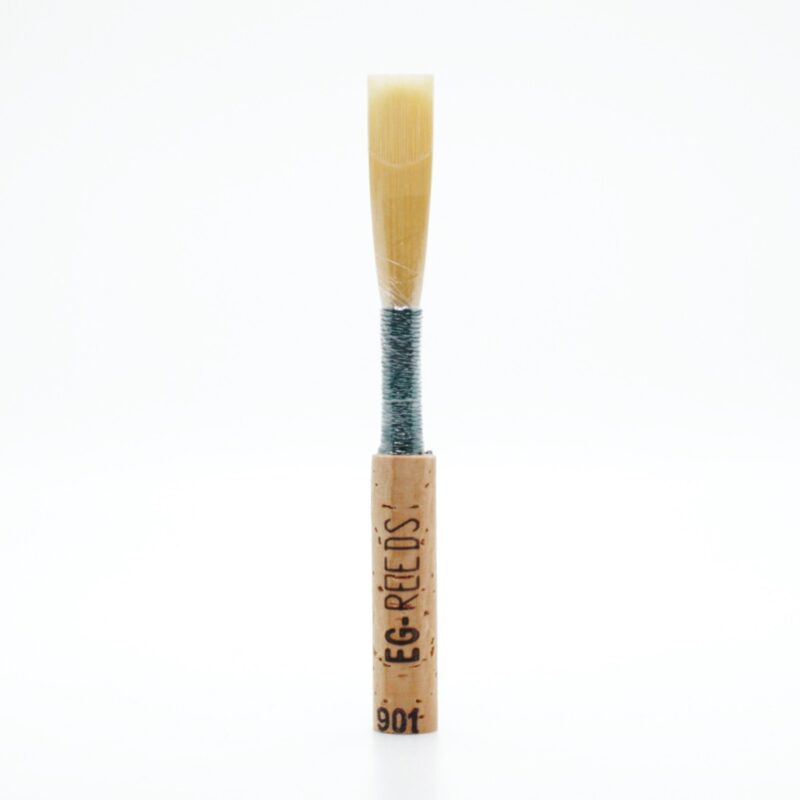


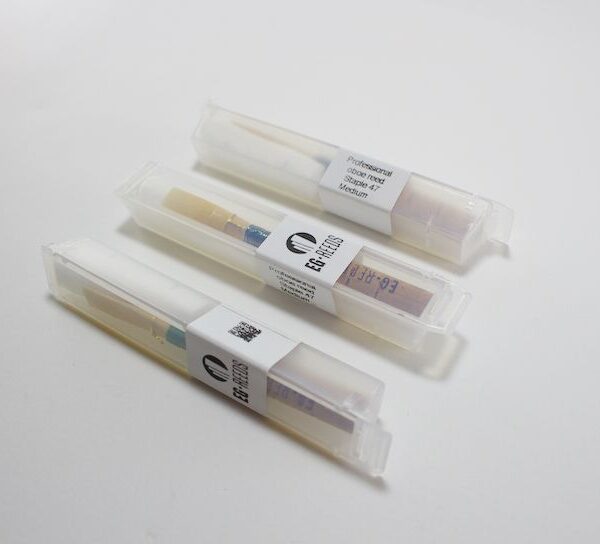

901 Professional oboe reed
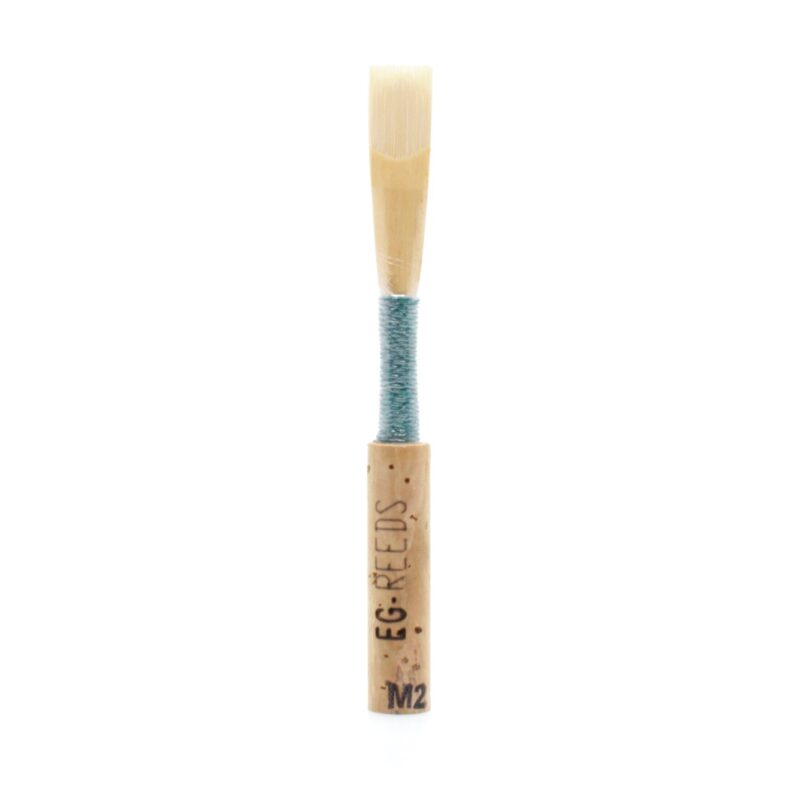
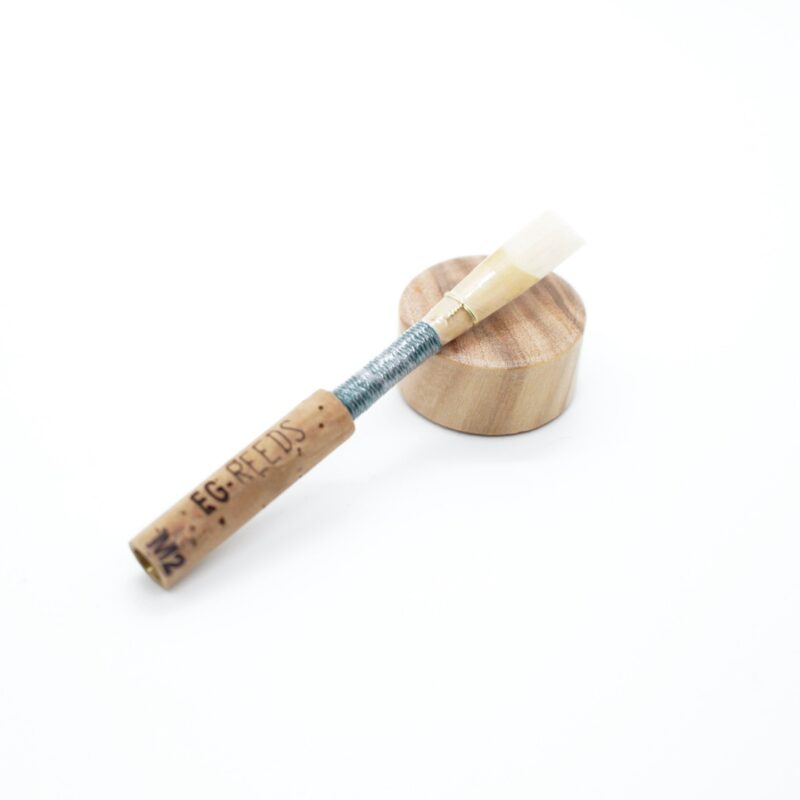
M2 Professional oboe reed
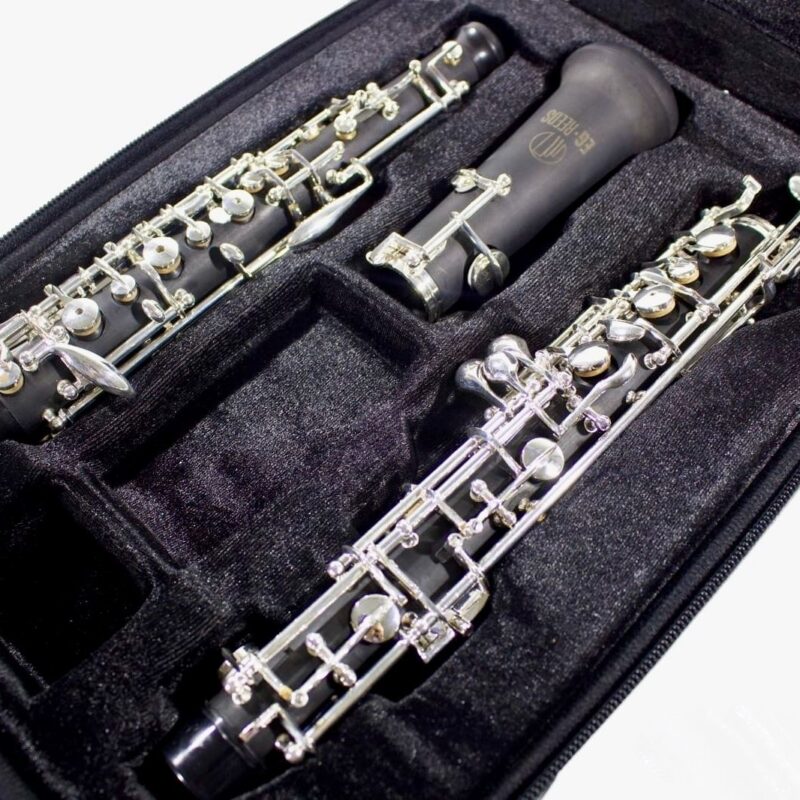
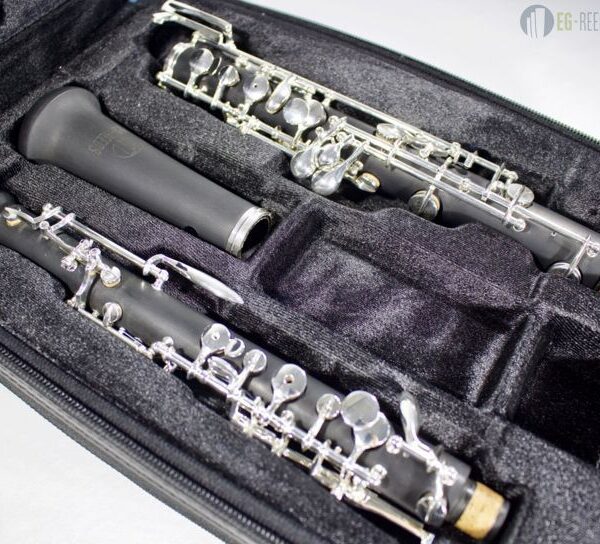
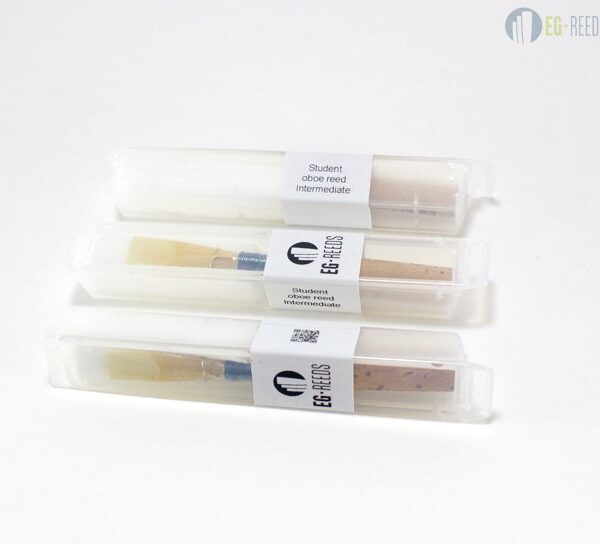
Intermediate oboe EG-REEDS
Mayer oboe reed
Beginner oboe EG-REEDS
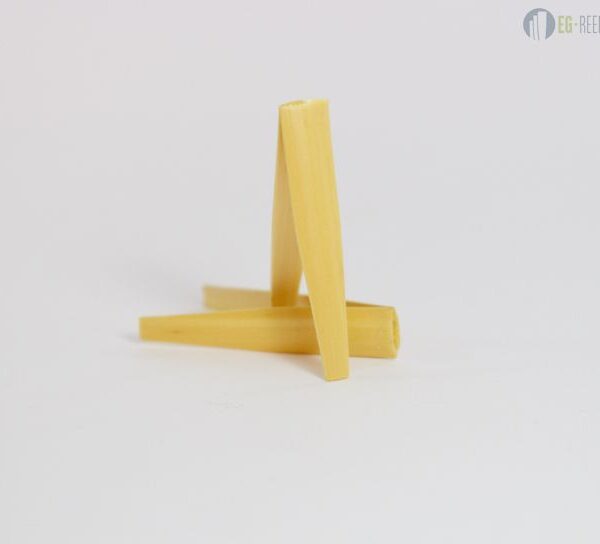
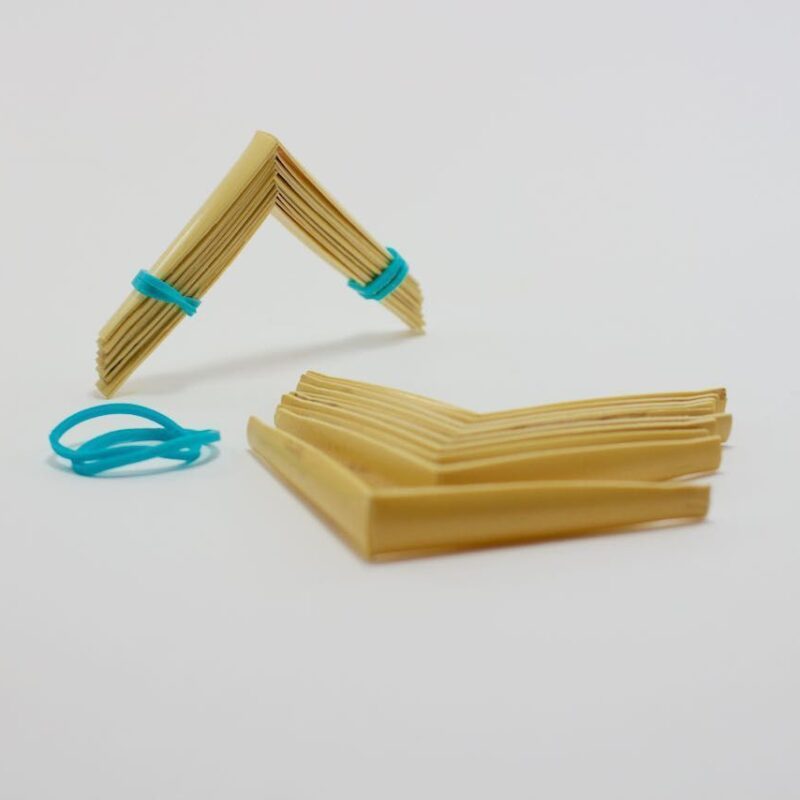
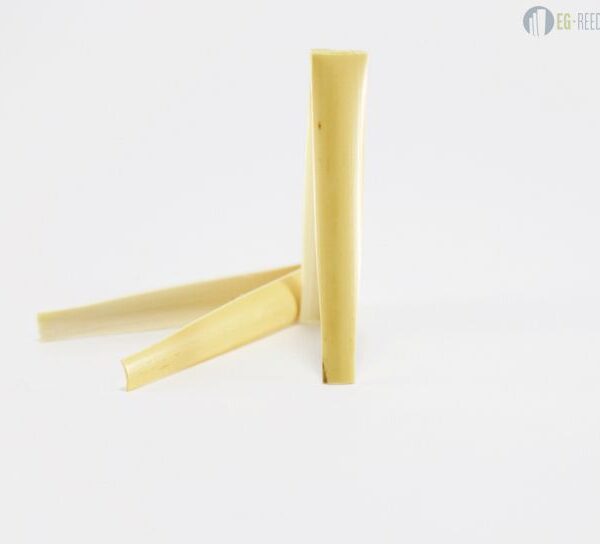
Shaped oboe cane EG-REEDS
Student oboe reed Beginner EG-REEDS
Professional English horn reed EG-REEDS
Changes to our shipping options starting January 1, 2026
François Leleux
Nov
Maurice Bourgue
Mar
The oboe in film music
Mar
Albrecht Mayer
Feb
Heinz Holliger
Jan
Merry Christmas and Happy 2025!!
Dec
How to buy the best oboe for students?
Dec