
 Español
 Italiano
 Deutsch
 Français
 Português
 日本語
日本語 简体中文
简体中文 한국어
한국어 Русский
Oboe Reed Making Basics. Get Ready for the New School Year.
A new school year is a good moment to prepare your reed-making table. If you want to make your own oboe reeds, you will need a few specialized materials and tools that help you work with accuracy from the beginning.
This guide gathers the essential items: cane, staples, thread, knife, wire and the small accessories that make reed making more consistent and easier to learn.
To make the first step easier, at www.eg-reeds.com you can find a basic oboe reed-making kit with the core tools in one set.
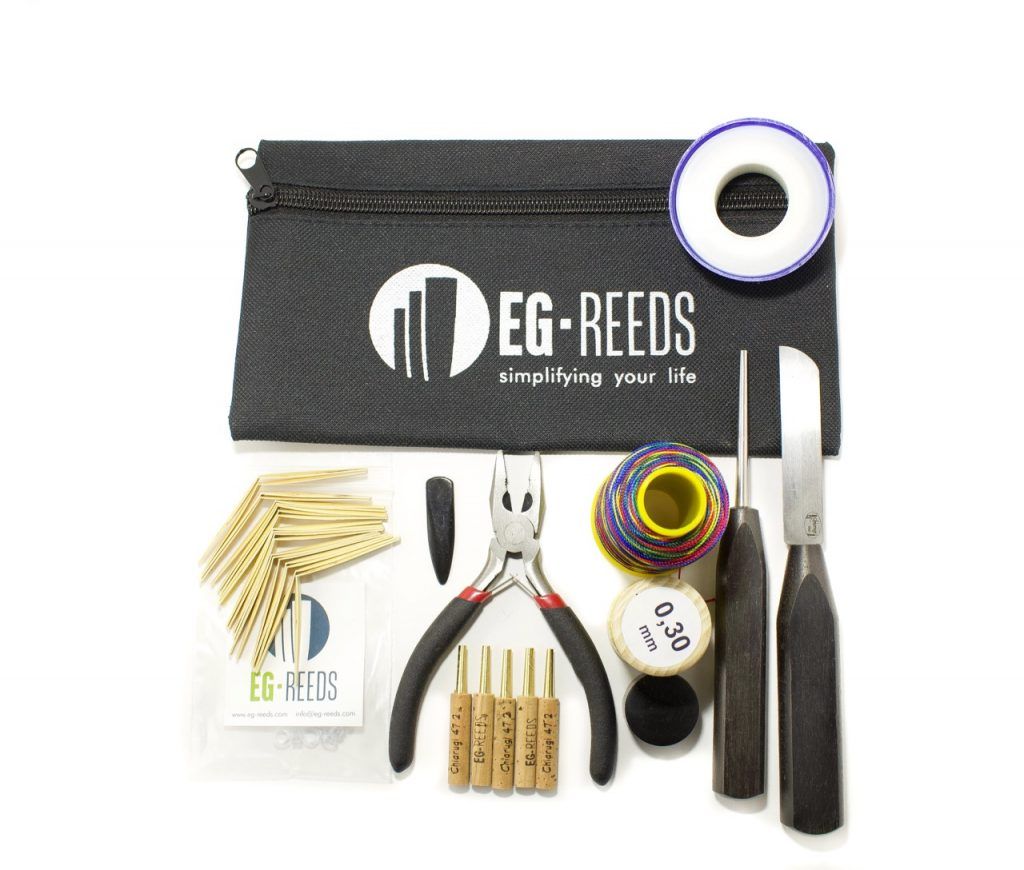
Start making reeds with the right tool set
Keep the essentials ready for tying, scraping and first adjustments without buying each accessory separately.
- Everything you need to begin making your reeds
- Ideal for students getting started
- Discounted price when buying the complete set
- Worldwide shipping
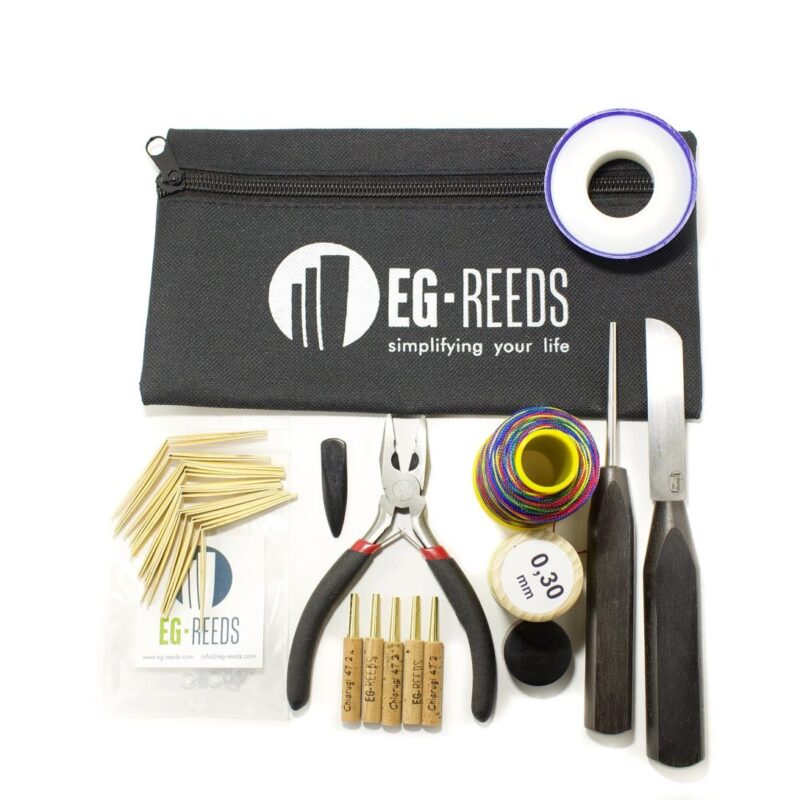
10 basic materials for making oboe reeds
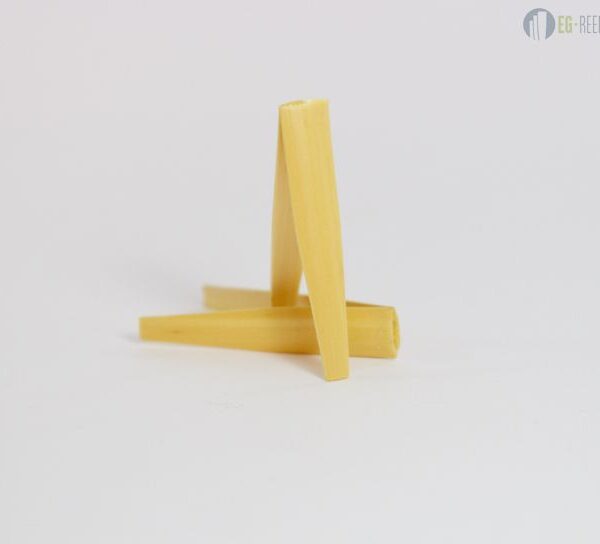
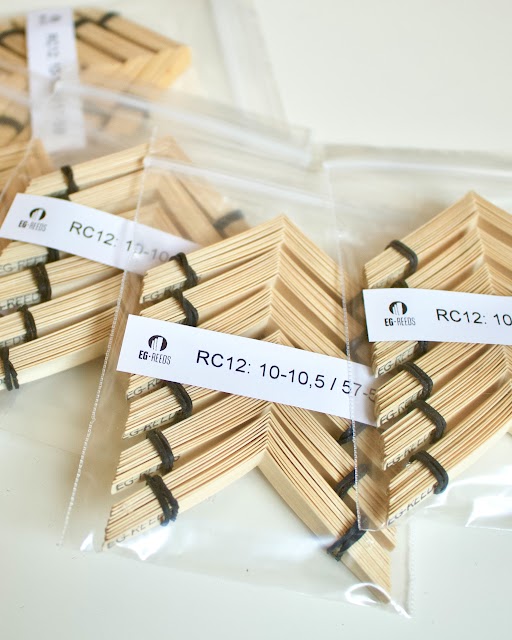
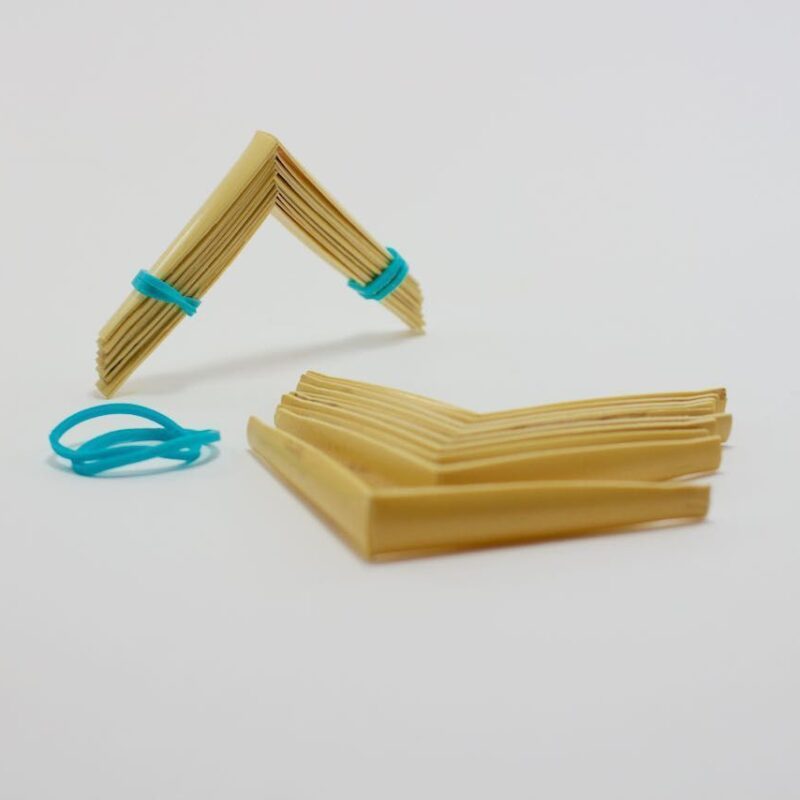
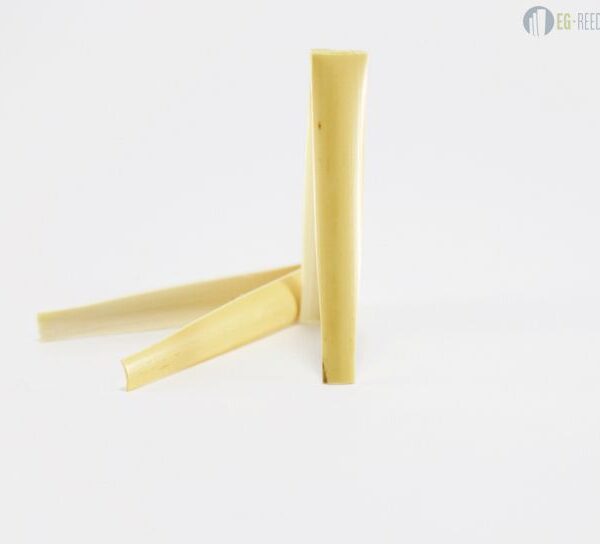
- Oboe cane: Start with reliable oboe cane. You can buy shaped, gouged or pregouged cane depending on how much of the process you want to do yourself. Student cane is useful when you need affordable material for practice.
- Thread: Strong thread is necessary for tying the reed securely. Nylon thread is a common choice because it holds tension well.
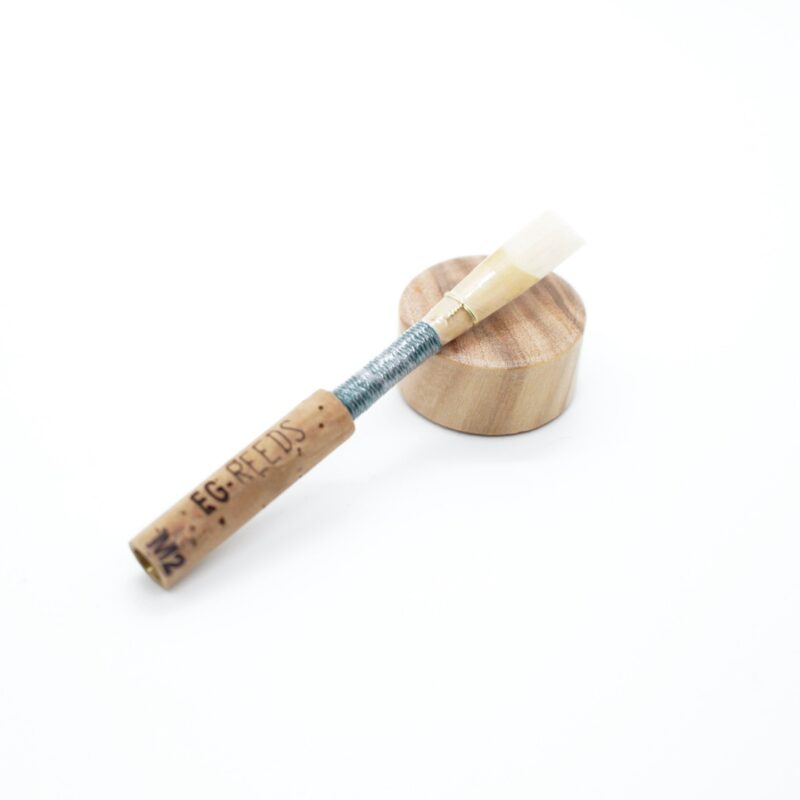
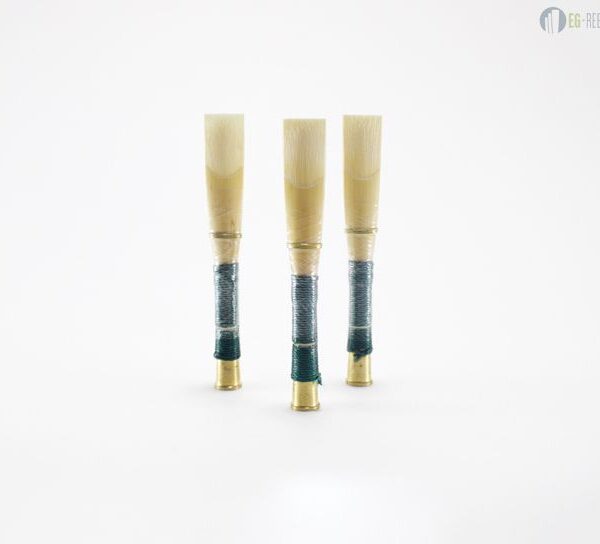
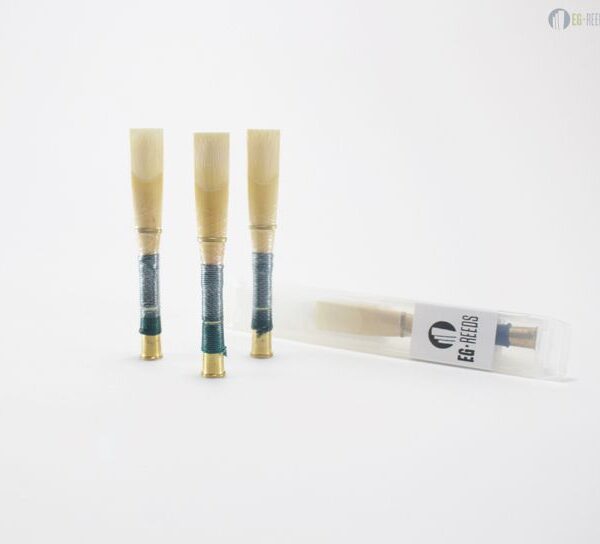
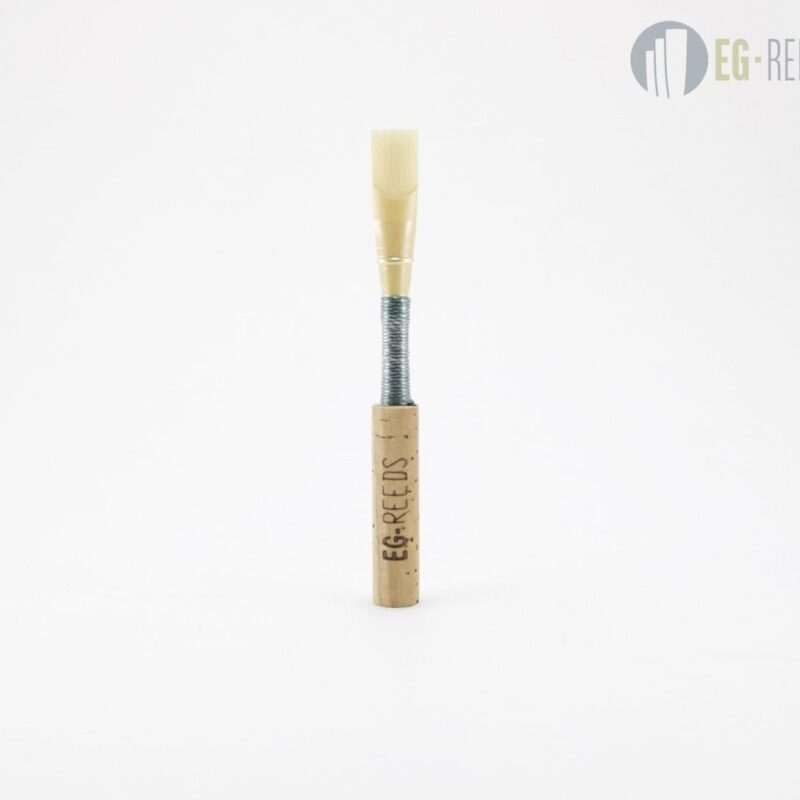
- Staples: Staples are the metal and cork tubes that connect the reed to the oboe. Chiarugi 47 2 is one of the standard models many oboists use.
- Wire: Fine 0.30 wire helps adjust the reed opening and gives a little extra control when the reed changes.
- Plaque: The plaque goes between the blades and supports clean scraping without damaging the inside of the reed.
- Reed knife: A sharp knife is essential for accurate scraping. A dull knife makes you push too hard and can mark the cane fibers.
- Mandrel: A mandrel holds the staple while tying and helps keep the reed stable and correctly aligned.
- Cutting block: A firm cutting surface lets you clip the tip cleanly and safely.
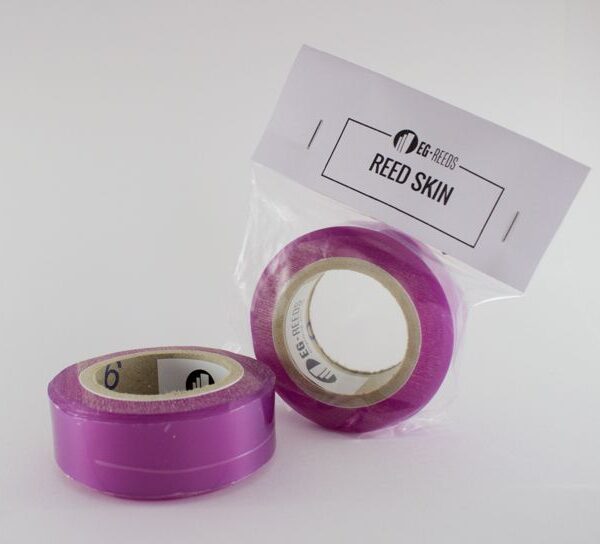
- Sealing material: Teflon tape or reed skin can help prevent air leaks when the reed needs extra sealing.
- Pliers: Pliers make it easier to adjust the wire without forcing the reed with your fingers.
You may also want a small container for soaking cane, good lighting and a comfortable place to work. Those simple details make long reed-making sessions much easier.
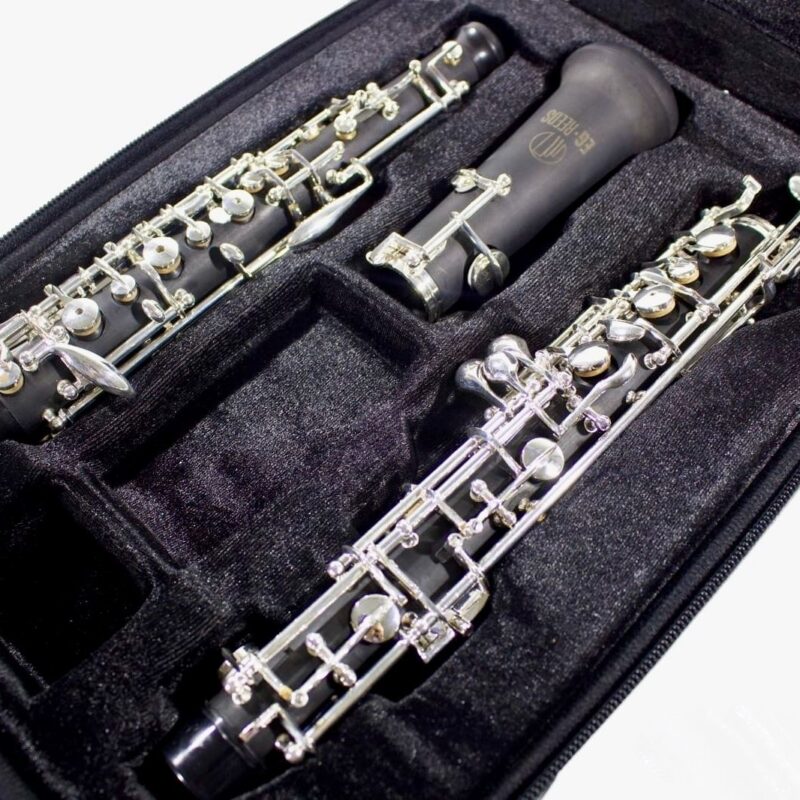
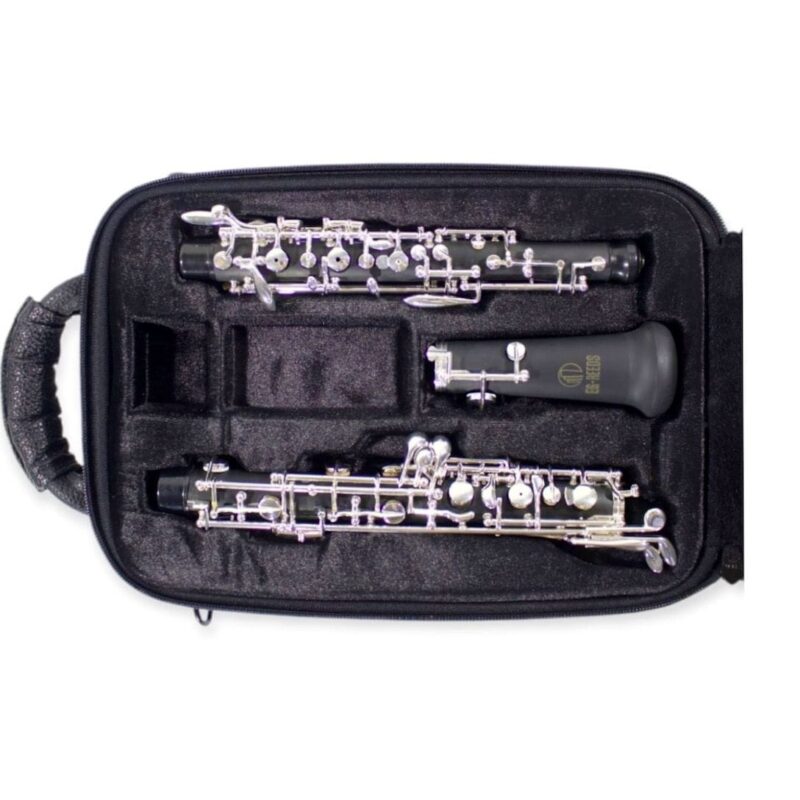
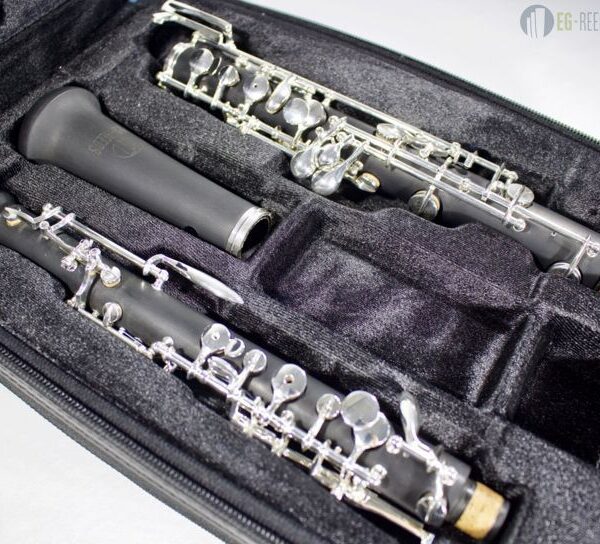
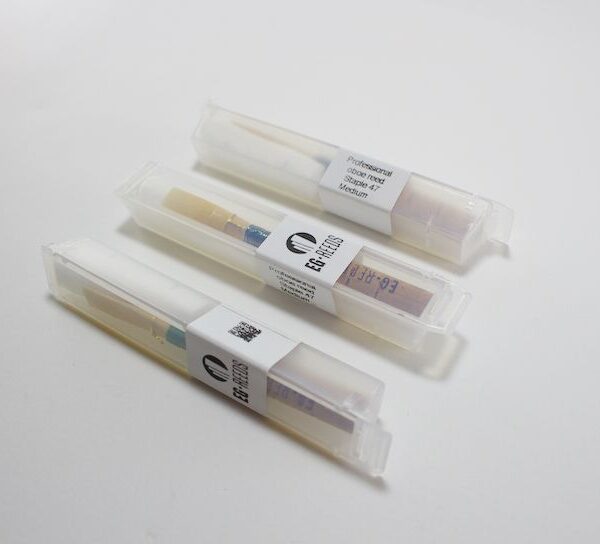
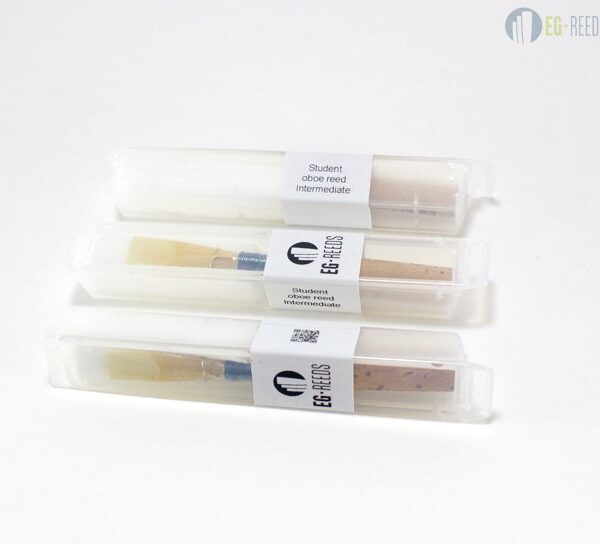
Once the reeds are finished, keep them in a reed case so they stay protected and can dry properly between uses.
Reed making takes time to develop. A teacher or experienced reed maker can help you understand which materials and measurements suit your playing best.
You can continue with our article 5 tips to improve your oboe reed making.
info@eg-reeds.com
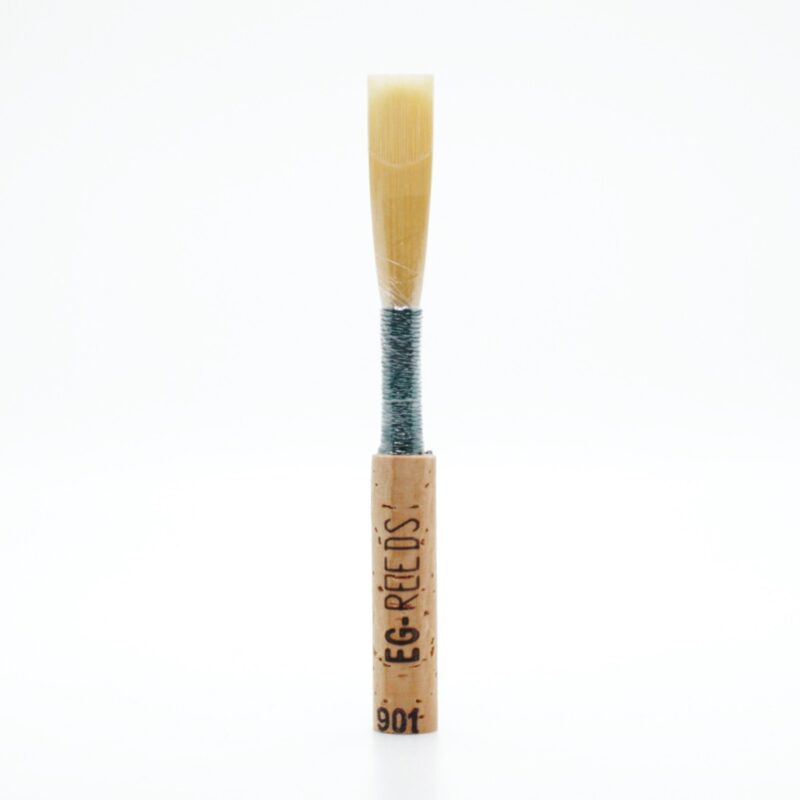


901 Professional oboe reed
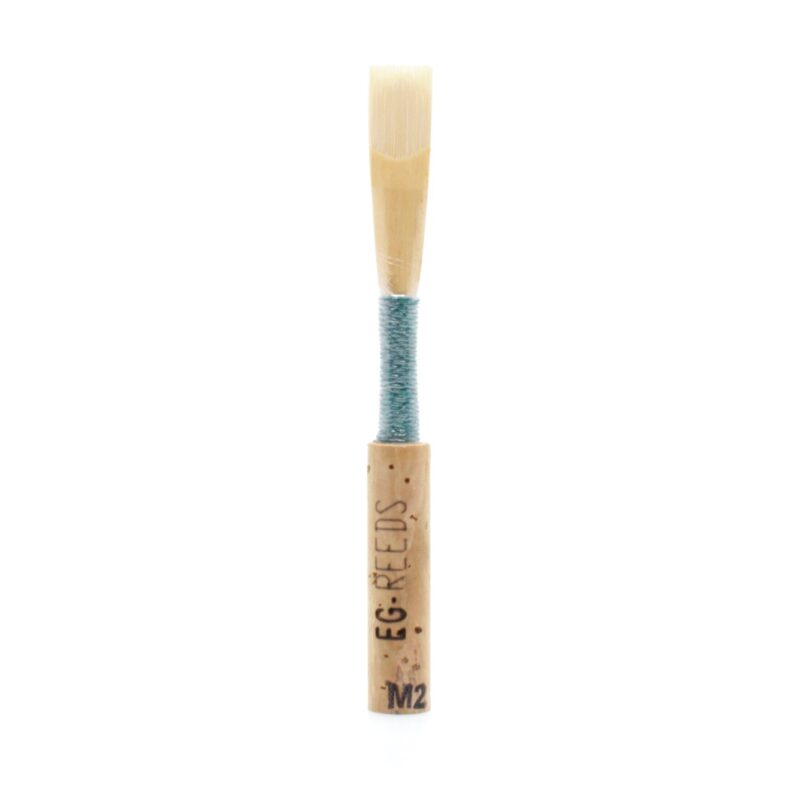
M2 Professional oboe reed
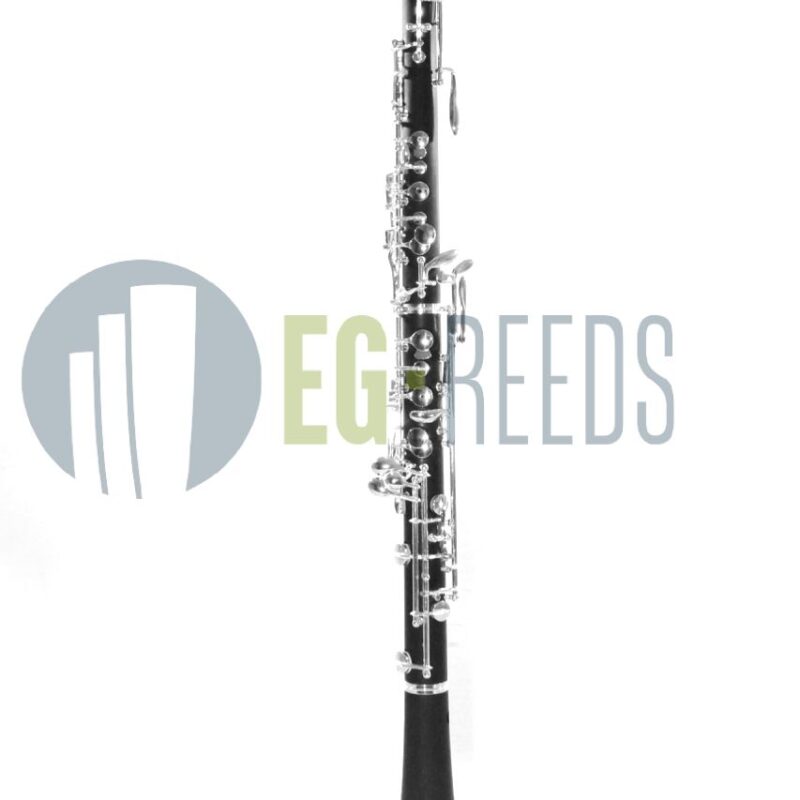
Intermediate oboe EG-REEDS
Mayer oboe reed
Beginner oboe EG-REEDS
Shaped oboe cane EG-REEDS
Student oboe reed Beginner EG-REEDS
Professional English horn reed EG-REEDS
Zelenka: 6 Sonatas, ZWV 181, new album with Ramón Ortega Quero and Ángel Luis Sánchez Moreno
Jun
Jan Dismas Zelenka and the oboe: why his sonatas still matter
Jun
Oboe reed making knives: guide to choosing the right tool
1 Comment
Apr
Oboe Results at The Muri Competition 2026: Fedor Osver, Varvara Petrova and Pedro Moreira
Apr
Changes to our shipping options starting January 1, 2026
François Leleux
Nov
Maurice Bourgue
Mar
The oboe in film music
Mar